Tuesday Technique: Blending a Photo into a Background

Blending photos is a fairly popular technique in our gallery… and it can lead to some pretty amazing pages. There is more than one way to blend a photo, but here’s a pretty easy way to do it!
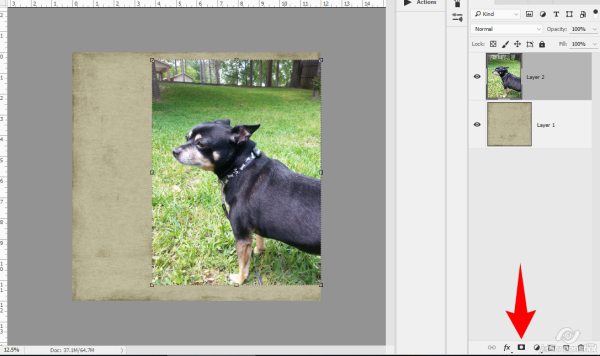
Add your photo to your page and click to create a layer mask on the photo. In PS, you can click this icon:
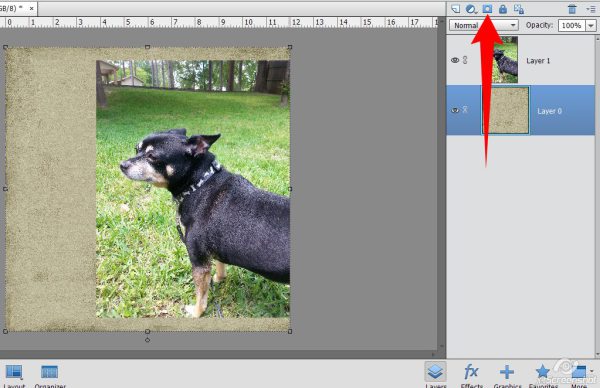
in PSE, it’s up here:
This allows you to edit your photo without changing the original photo…. which is VERY helpful if you mess up or change your mind
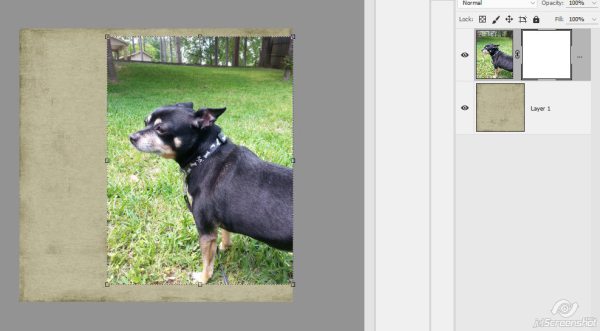
With the layer mask selected (you can click on the mask just to be sure), click on your brush tool
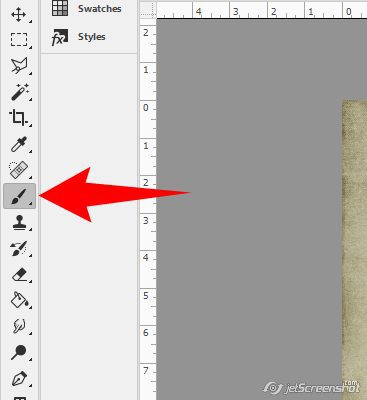
in PS you’ll find it here:
and in PSE you’ll find it here:
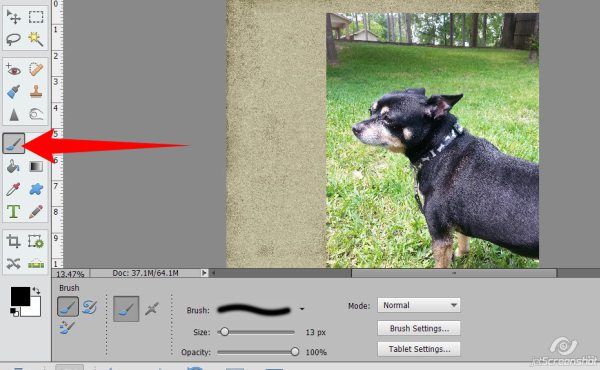
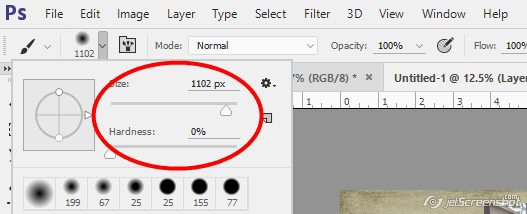
Pick a nice big round brush
in PS lower the hardness down to 0%
in PSE, lower the OPACITY as far as it will go:
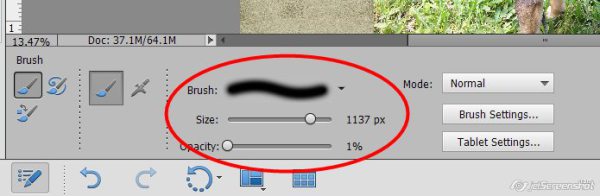
This gives you a nice fuzzy brush to work with
Make sure black is your foreground color, then “paint” on the layer mask to “hide” parts of your photo you don’t want showing on the background
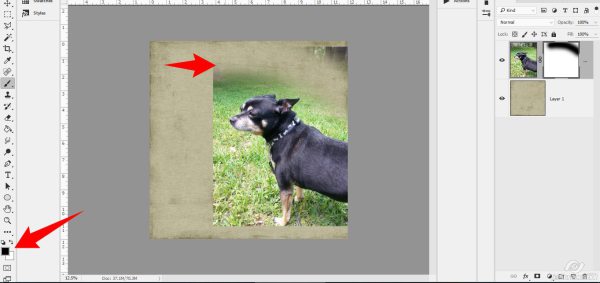
If you make a mistake or want/need to put some of your photo back in, change your foreground color to white. For tighter areas, you can lower the brush size as well.
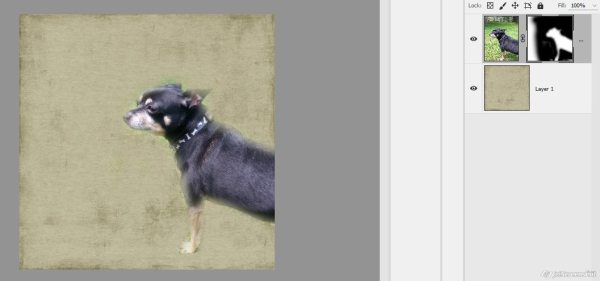
Once you’ve finished, you should have something like this:
Now you can blend your photo into your background a couple of different ways!
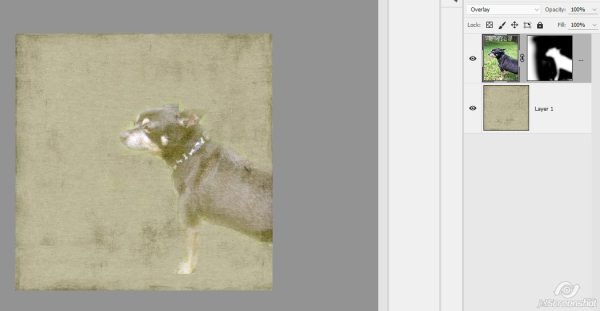
1. Change the blend mode
Here I’ve changed the blend mode to Overlay
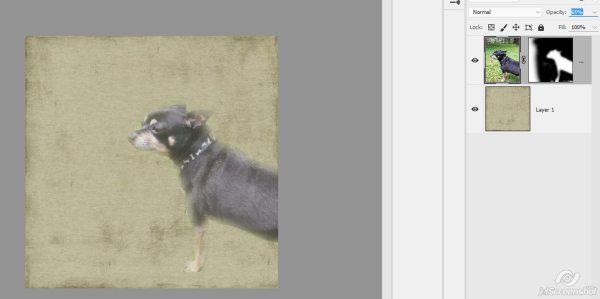
2. Lower the opacity
Here I have the blend mode set to Normal and the Opacity bumped down to 63%. This lets the background paper show through
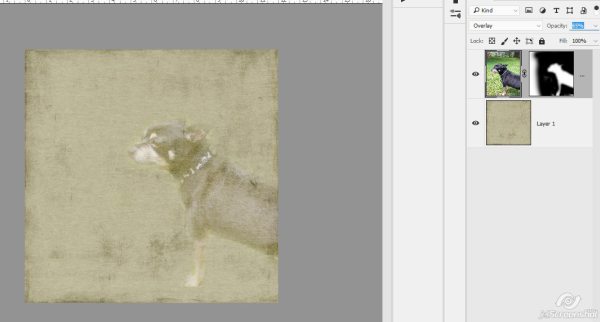
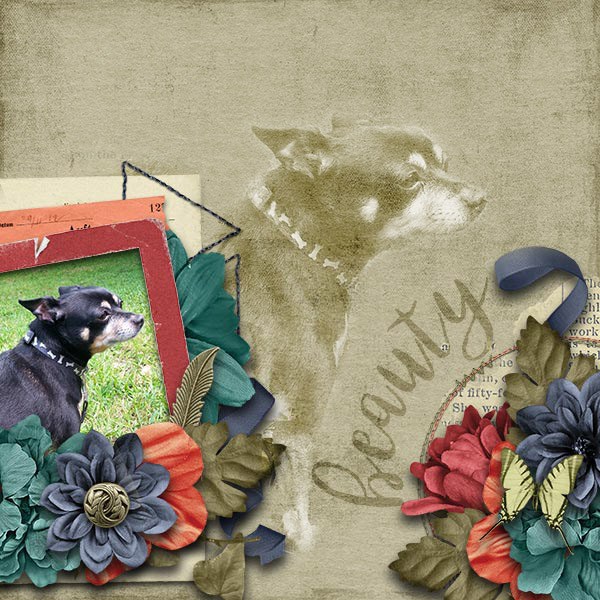
3. Or do both…
Here I’ve got my blend mode set to Overlay and Opacity is set to 63%
However you want to do it is totally fine!
Happy Blending!
Christine Bishop said...
on September 10th, 2019 at 8:01 pm
Thank you for this great tutorial!
Christine Moyse said...
on September 10th, 2019 at 10:29 pm
I just love blending for backgrounds, thank you for showing me this way to do it.
admin said...
on September 13th, 2019 at 1:54 am
You’re welcome, ladies! There is almost always more than one way to do any technique – one of the many reasons to love digital